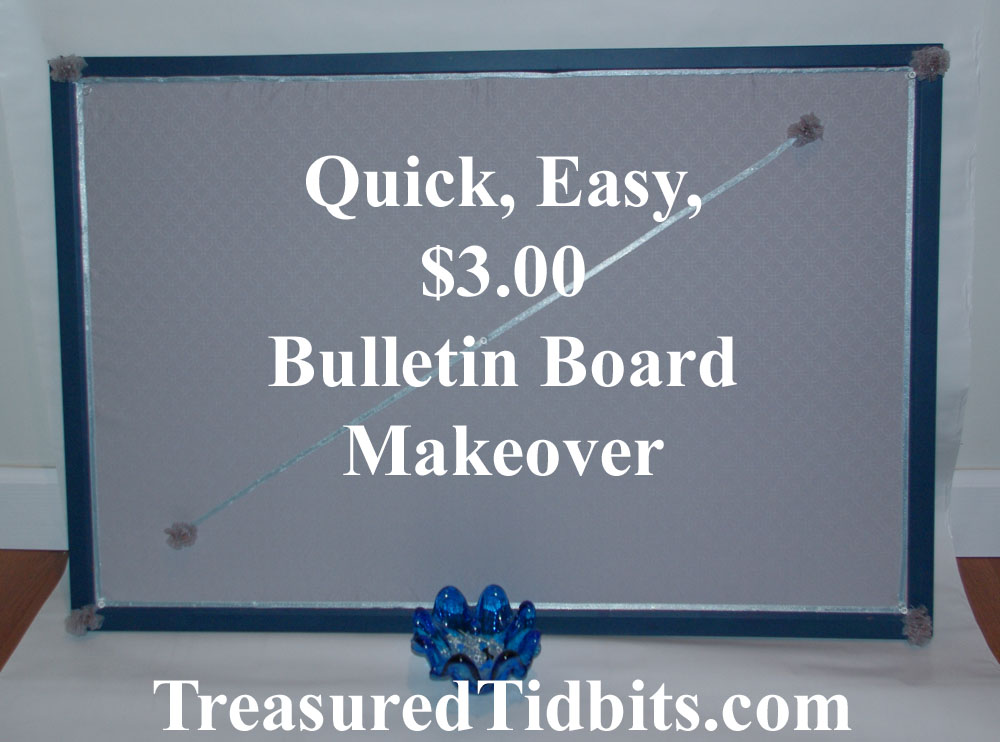
My $3 Bulletin Board Makeover & Tutorial
My $3 Bulletin Board Makeover & Tutorial
(No more boring cork board brown)
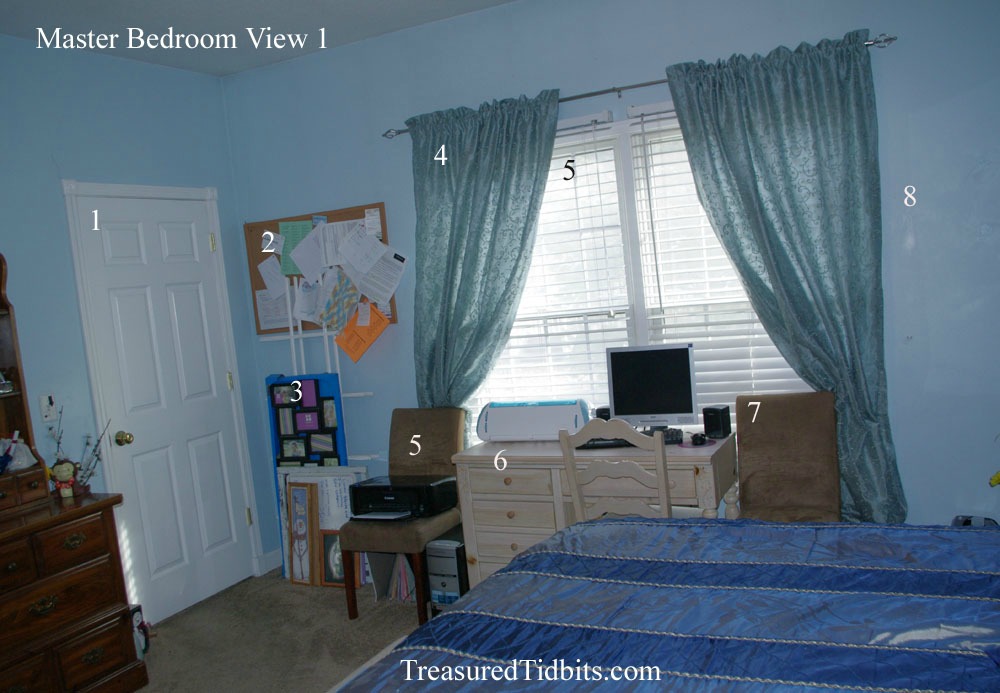
I am sure many of you can recall the ugly brown bulletin board I revealed hiding behind my bedroom door in the Master Bedroom Makeover (or maybe not since it was covered in “stuff”).
Well, I tackled it today. It may not be the best job since a good portion of it was completed with my bum in a recliner because of back pain, but… by golly, I got ‘er done. When I woke up this morning, the only thing I knew was I was going to cover the middle with part of the luxurious grey sheet I bought at Goodwill last week.
How did it turn out? See for yourself.
I “Pinterested” first, of course.
I have to admit, nothing I looked at even comes close to this design, but that’s because I scrounged frugally used items I already had on hand.
It was actually very quick, simple and unbelievably easy.
Like I said, I did a lot of it sitting on the sofa with my feet up while working on it.
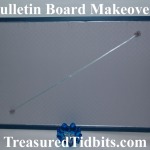
Before & After
Please keep in mind that my bedroom is muted colors and I wanted to my bulletin board to match.
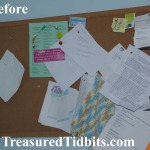
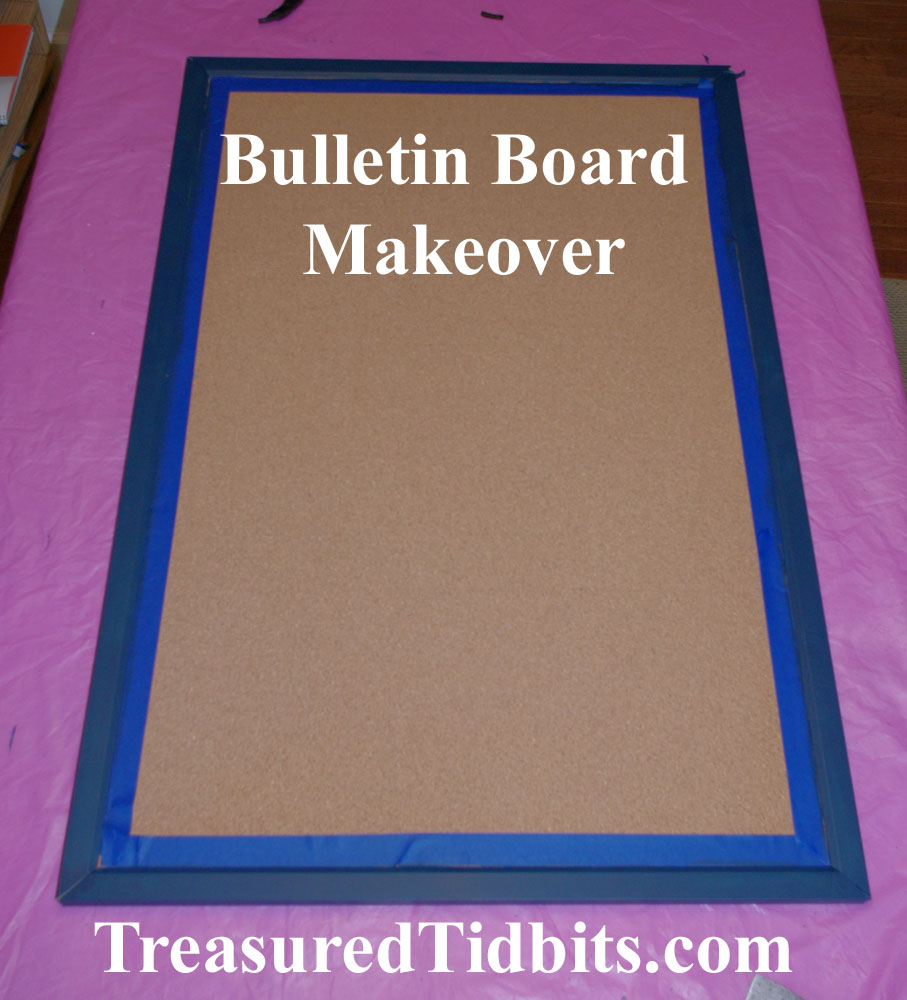
As you can see, it was a very plain cork board brown.
My goal today was to change that, as I said when I began, I had no vision for what the finished product might look like. I just knew the brown had to go.
My $3 Bulletin Board Makeover
SUPPLIES:
Bulletin Board
Material for Center
I used a small part of a sheet I purchased for $1.99 at Goodwill last week.
Paint We used Ceramcoat Midnight Blue from my craft paint collection. Ceramcoat is my favorite acrylic paint and you will find I use it for every project I can.
Paint Brush
Sand Paper
Damp Rag
Paint Scraper (or butter knife)
Painter’s Tape
Scissors
Hot Glue or Craft Glue
Sealant I use Krylon Colormaster Clear Non-Yellowing. I keep it on hand for any projects that require pain and sealant.
I also used ribbon (2 kinds plus thread & a needle)
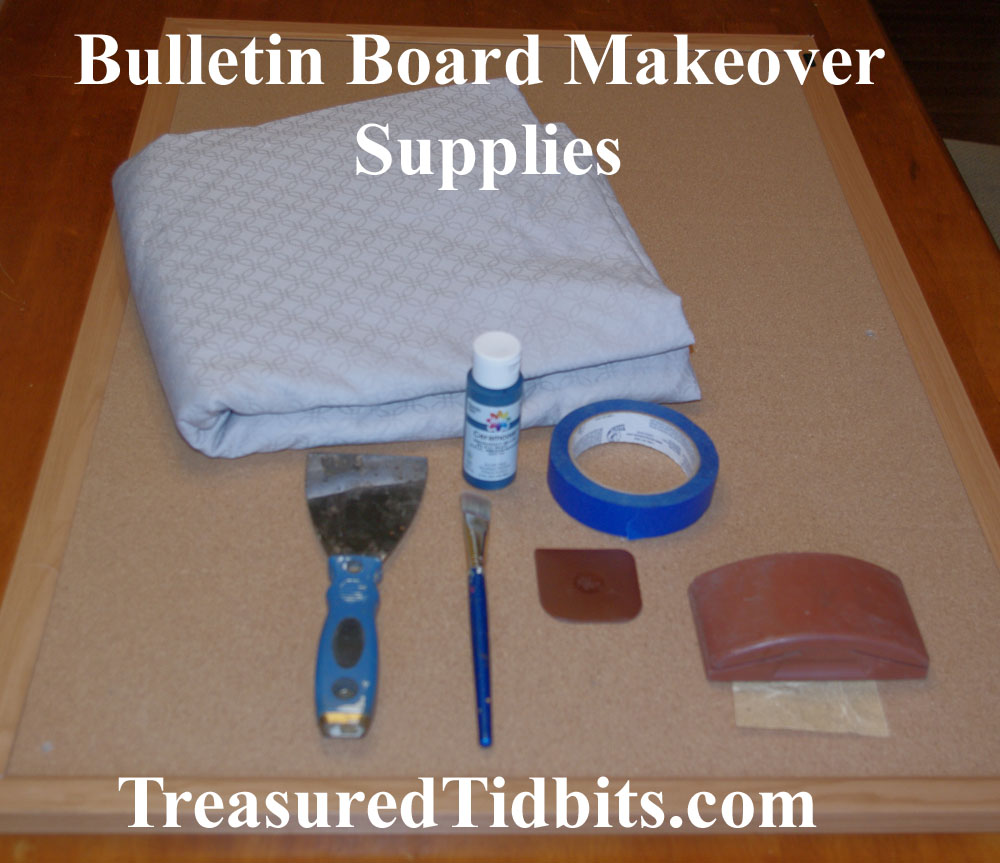
As I said, I wasn’t sure what my plan was, so not all the items I used are shown in the photo. I gathered them after I had the material on and could decide how to proceed.
1.) Cut material to length and width of board. Any extra will be pushed under the trim.
2.) Sand the frame.
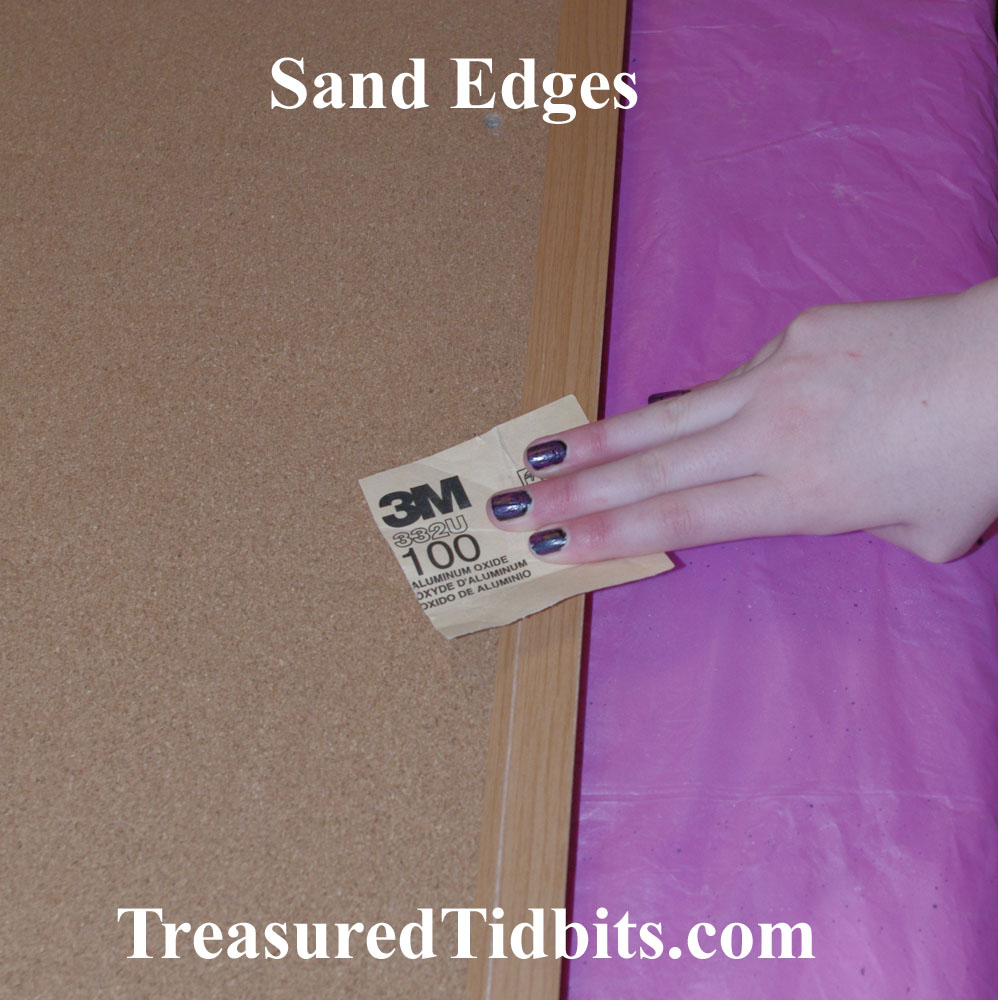
If your board is like mine, the trim is plastic not wood, sanding will encourage your paint to stick longer.
3.) Wipe with a damp rag.
Let dry
4.) Apply painter’s tape to protect center from paint applications.
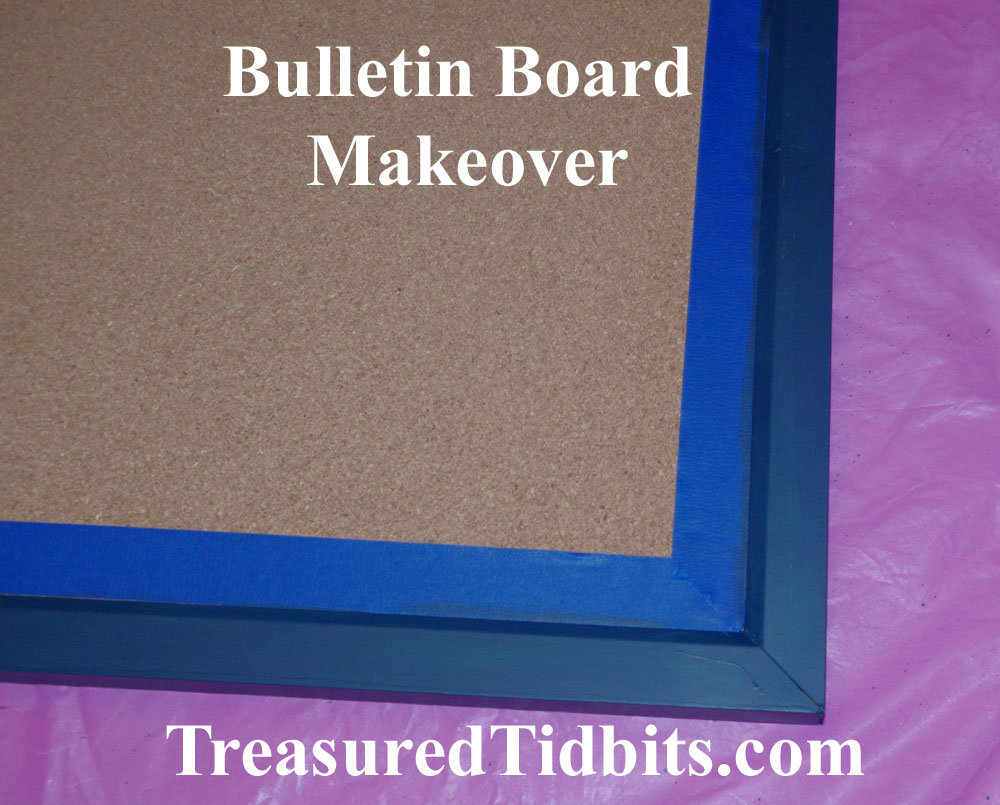
5.) Paint trim Don’t forget the edges. We used 2 coats.
6.) Apply sealant I know mine will be abused, and it will last longer with a coat or two of sealant.
7.) Remove tape
8.) Iron cut material Mine was wrinkled after washing. I actually did this step between coats of paint.
9.) Center material on board
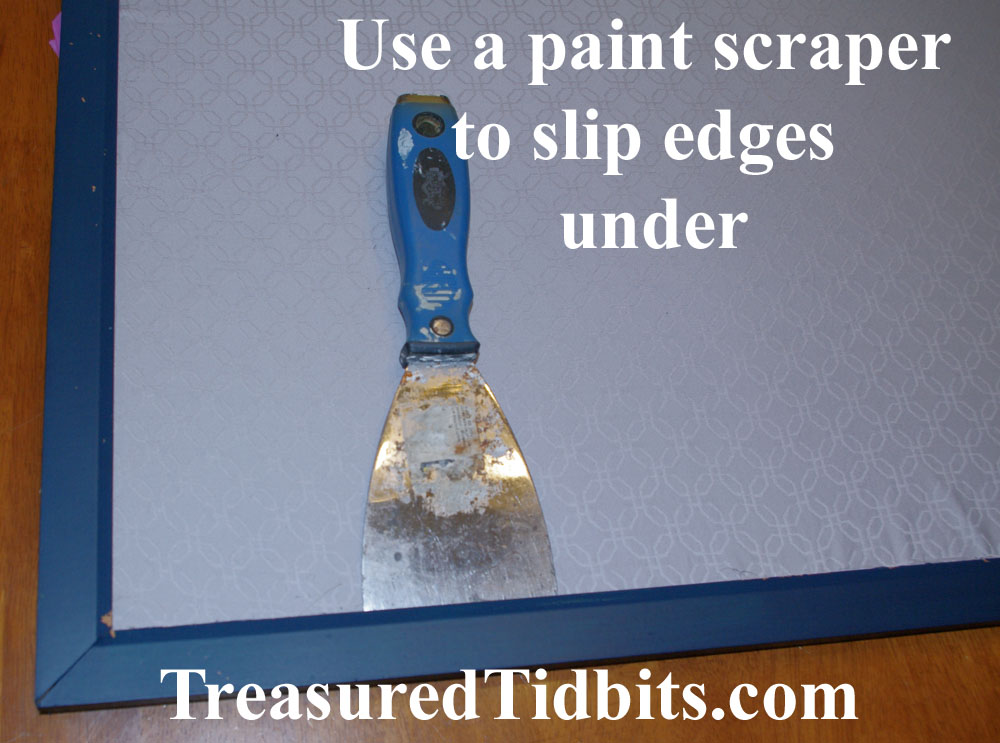
10.) Using putty knife/paint scraper to GENTLY slip edges under trim. You can also use spray adhesive or glue if you would like, I didn’t have any on hand and refused to invest more cash into the project.
This is where the picture tutorial stops.
Now for the little add-ons
I decided I like the look of trim on the Pinterest boards I saw, so I drudged up discovered some thin blue/gray ribbon and hot glued it around the edge of the board and across the center. I used every last scrap I had on hand.
If you look really close, you can see one side of the trim does not match the other. I began one style and changed my mind, but changing the ribbon was not really an option, so I left it. No one is sees this bulletin board but family anyway.
GREY FLOWERS


These were handmade (by me, this afternoon) from a clearance spool of ribbon I bought after Christmas.
I have been considering a grey material flower accent theme for the master bedroom makeover, and decided to start here.
These flowers were SOOO simple.
I took this tutorial from One Project Closer and altered it just a little to suit me and my ribbons.
I used a running stitch through the ribbon until I felt it was the right size, then folded the end and hand-stitched it closed.
Each flower took less than 3 minutes each to create and that was while I watched TV with my family.
I had hoped to make rosette push pins to match, but I ran out of ribbon, so I may do that later. We will see.
One last look at the finished product. I, personally, think for the cost of $3.00 it looks great! Elegant but not overwhelming. What do you think?

Thanks for stopping by and feel free to share your projects and link backs if you would like.
We love hearing from you!
For some great ideas and updates on this series follow us on Facebook, Instagram, Pinterest and sign up for weekly emails.
This post contains affiliate links at no cost to you. For details please read our disclosure policy found here.
Tags: Bulletin Board Makeover, DIY Bulletin Board, Easy, Glass FLower How-to, Pin Board, Quick, Recovered Pinb Board, Ribbon, Ribbon Flowers
![]() DIY Projects | Tina Miller |
DIY Projects | Tina Miller | ![]() January 21, 2015 10:53 pm
January 21, 2015 10:53 pm
2 Comments
Other Links to this Post
-
Treasured Tidbits by Tina » Master Bedroom/Closet Makeover for Less Than $100 Update #3 — January 23, 2015 @ 12:22 am
-
Treasured Tidbits by Tina 5 Simple Ways to Control the Incoming Paper Monster - Treasured Tidbits by Tina — October 3, 2016 @ 5:44 pm
RSS feed for comments on this post. TrackBack URI