Handpainted Uncle Sam Picket How-To
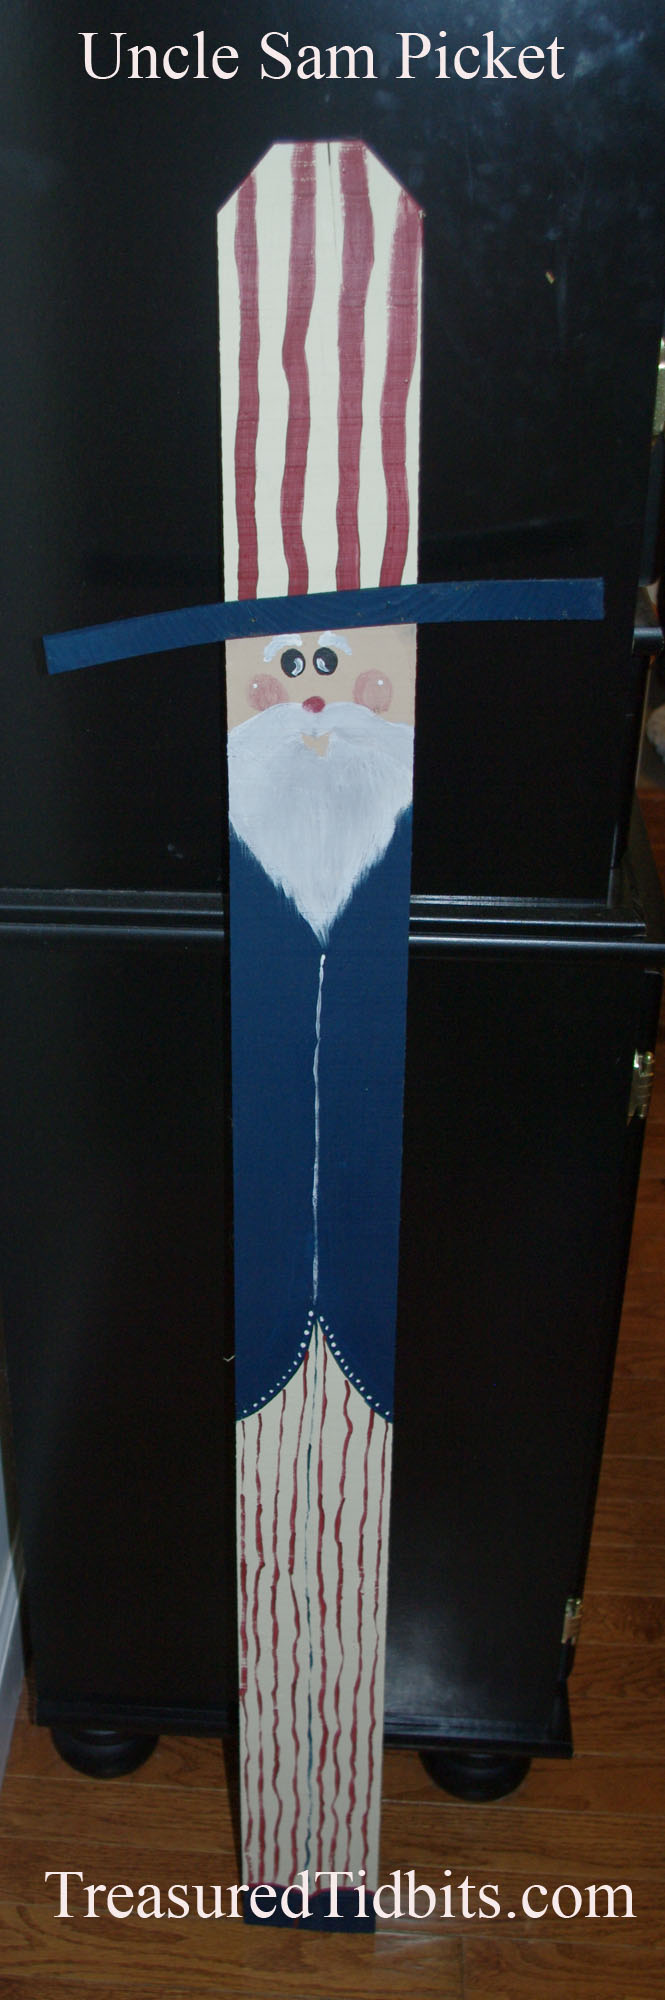
Patriotic Uncle Sam Picket
How-to
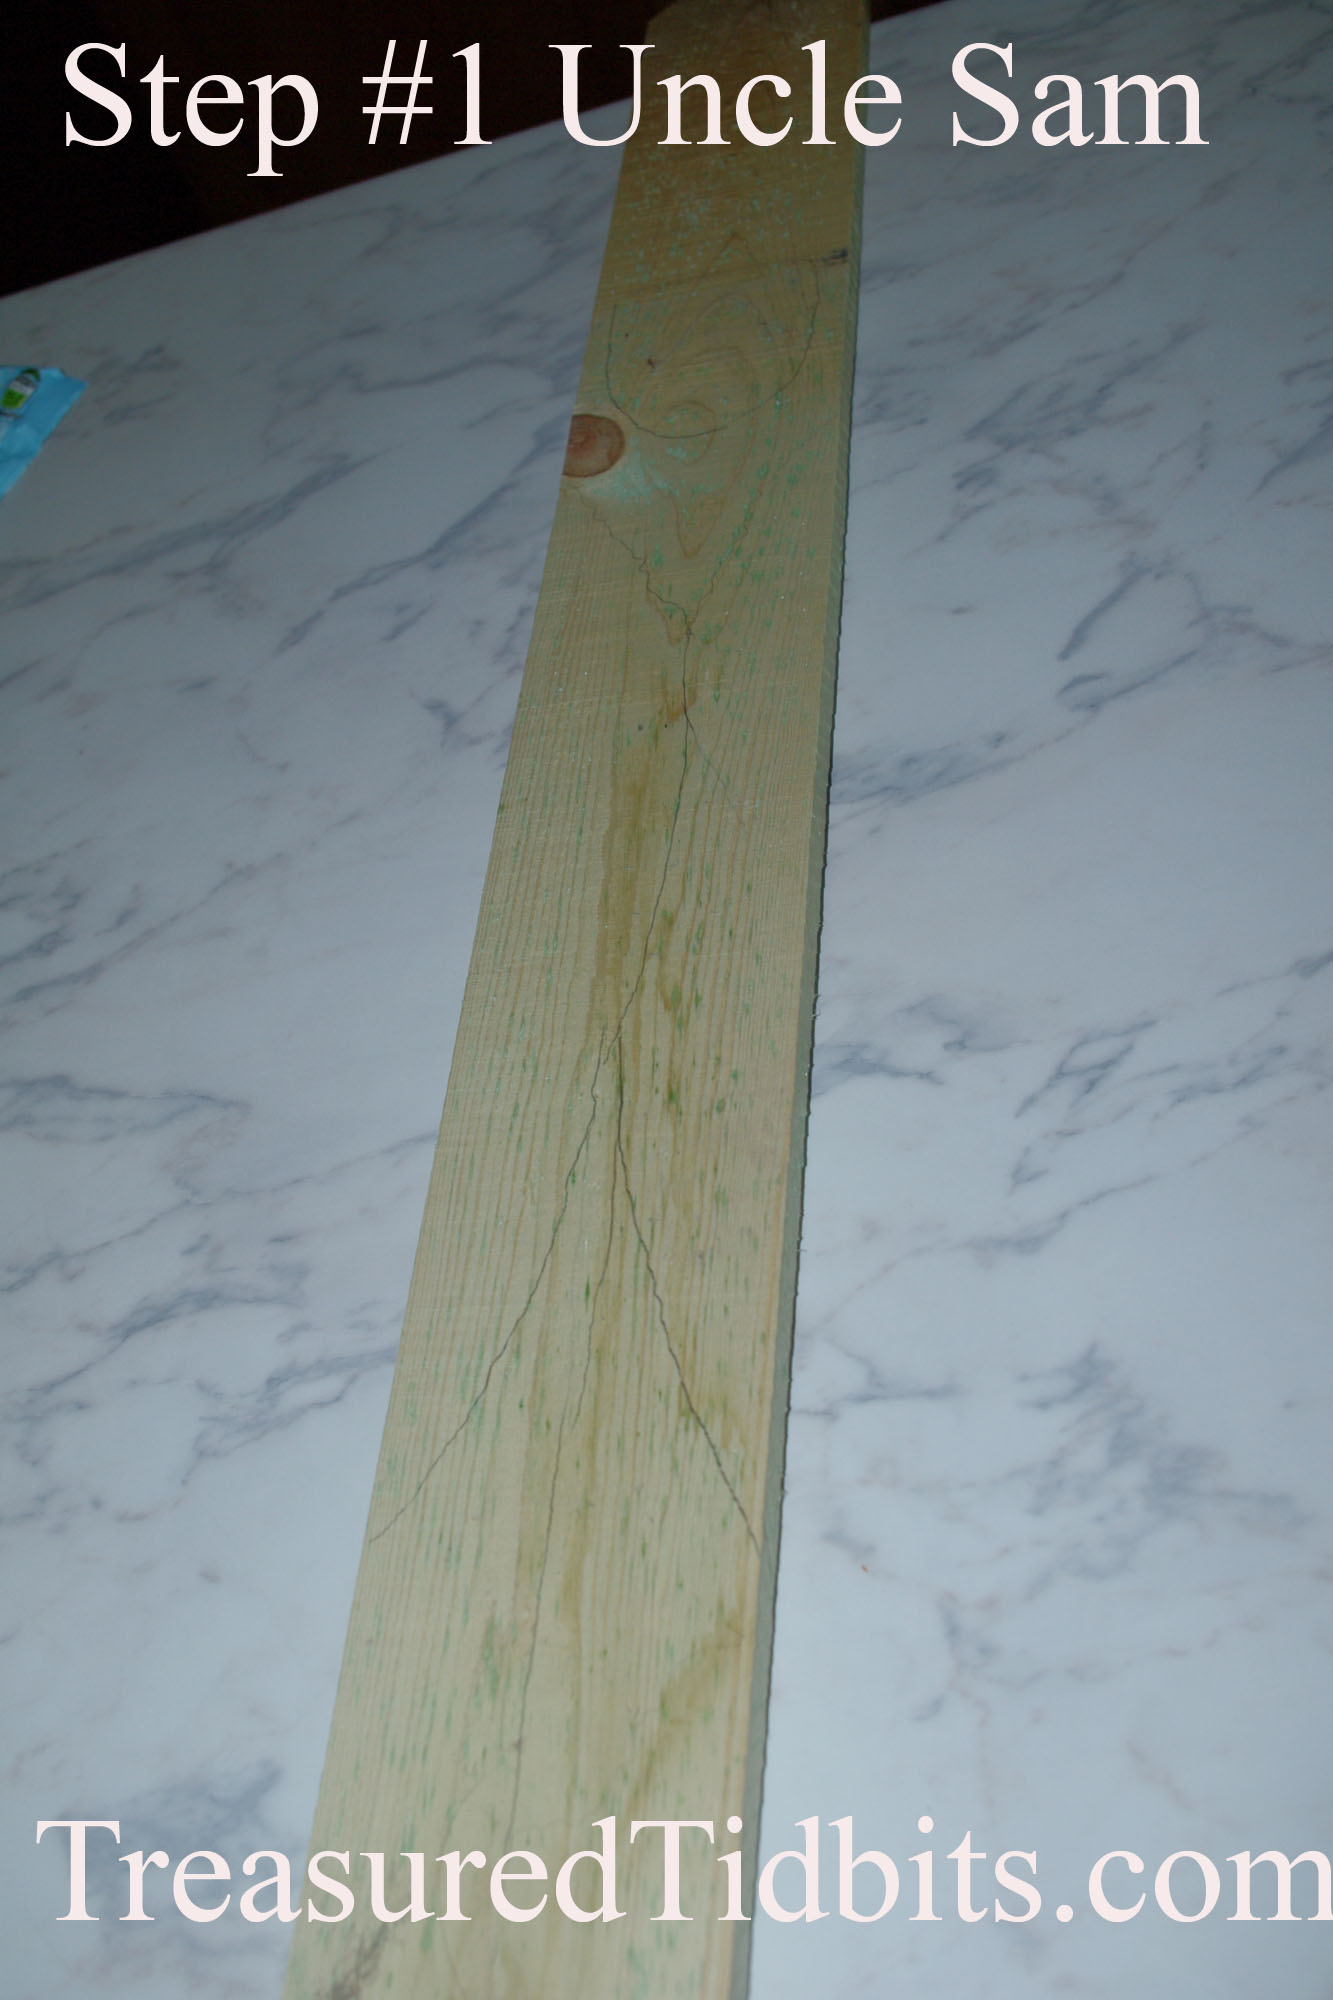
I was recently offered several free picket fence posts. Of course, I said YES! Now, I need to decide what to do with them.
In honor of the upcoming holiday Uncle Sam was my first project.

Supplies:
Paint: We used Red, White, Blue, Black, Beige, Flesh and a shiny Metallic Silver from Ceramcoat.
Note: I prefer Delta Ceramcoat for ALL my craft painting because it takes less coats, applies smoothly and has beautiful colors however, it is getting harder and harder to find in local stores.
Paint Brush
Clear Coat
Note: We prefer Clear Krylon Non-Yellowing Indoor/Outdoor and it can be found at most your local retailers.
A thin narrow strip of wood (for the hat brim)
Pencil, Toothpick and Q-tip (for detailing)
Uncle Sam Directions:
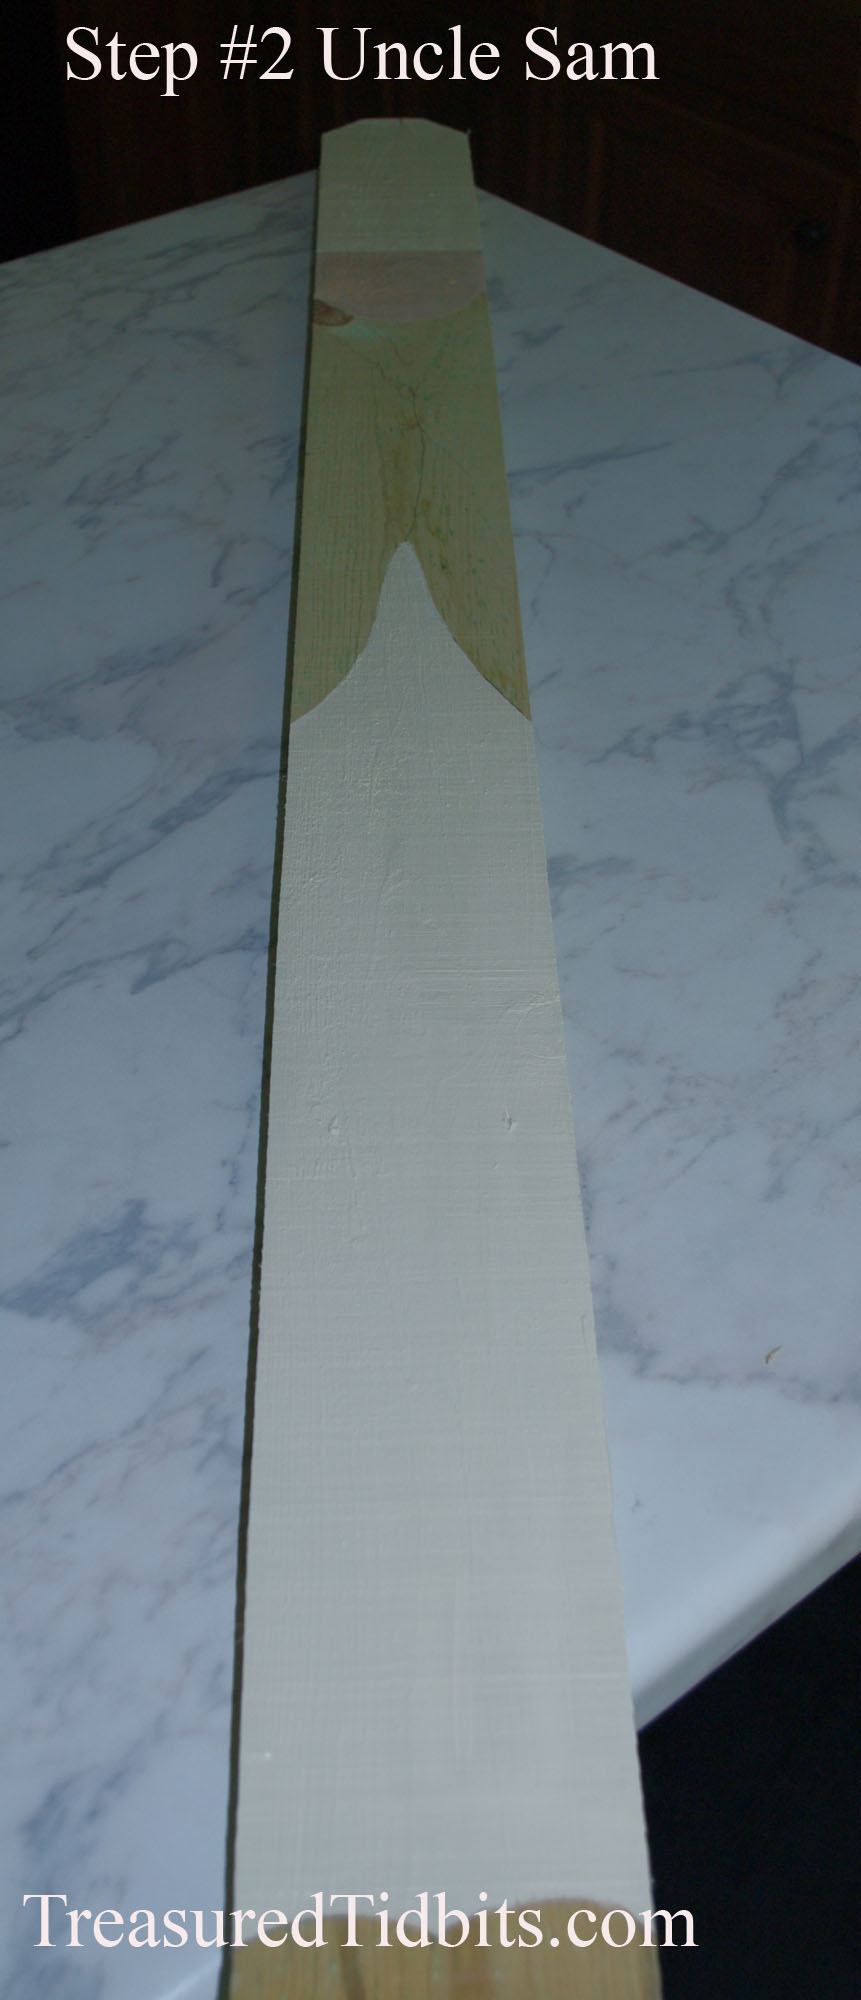
Draw a light rough draft of the expected design onto the wood.
Note: I simply penciled in the generic lines for the bottom of the hat, the face and the coat so that I would have a feel for the dimensions I might want to use.
Begin by painting two base coats on each of the following: face in flesh, pants in white and hat in beige
Note: By painting the layers that should “appear” to be in the back first you will be able to control the impression of the top layers much better.
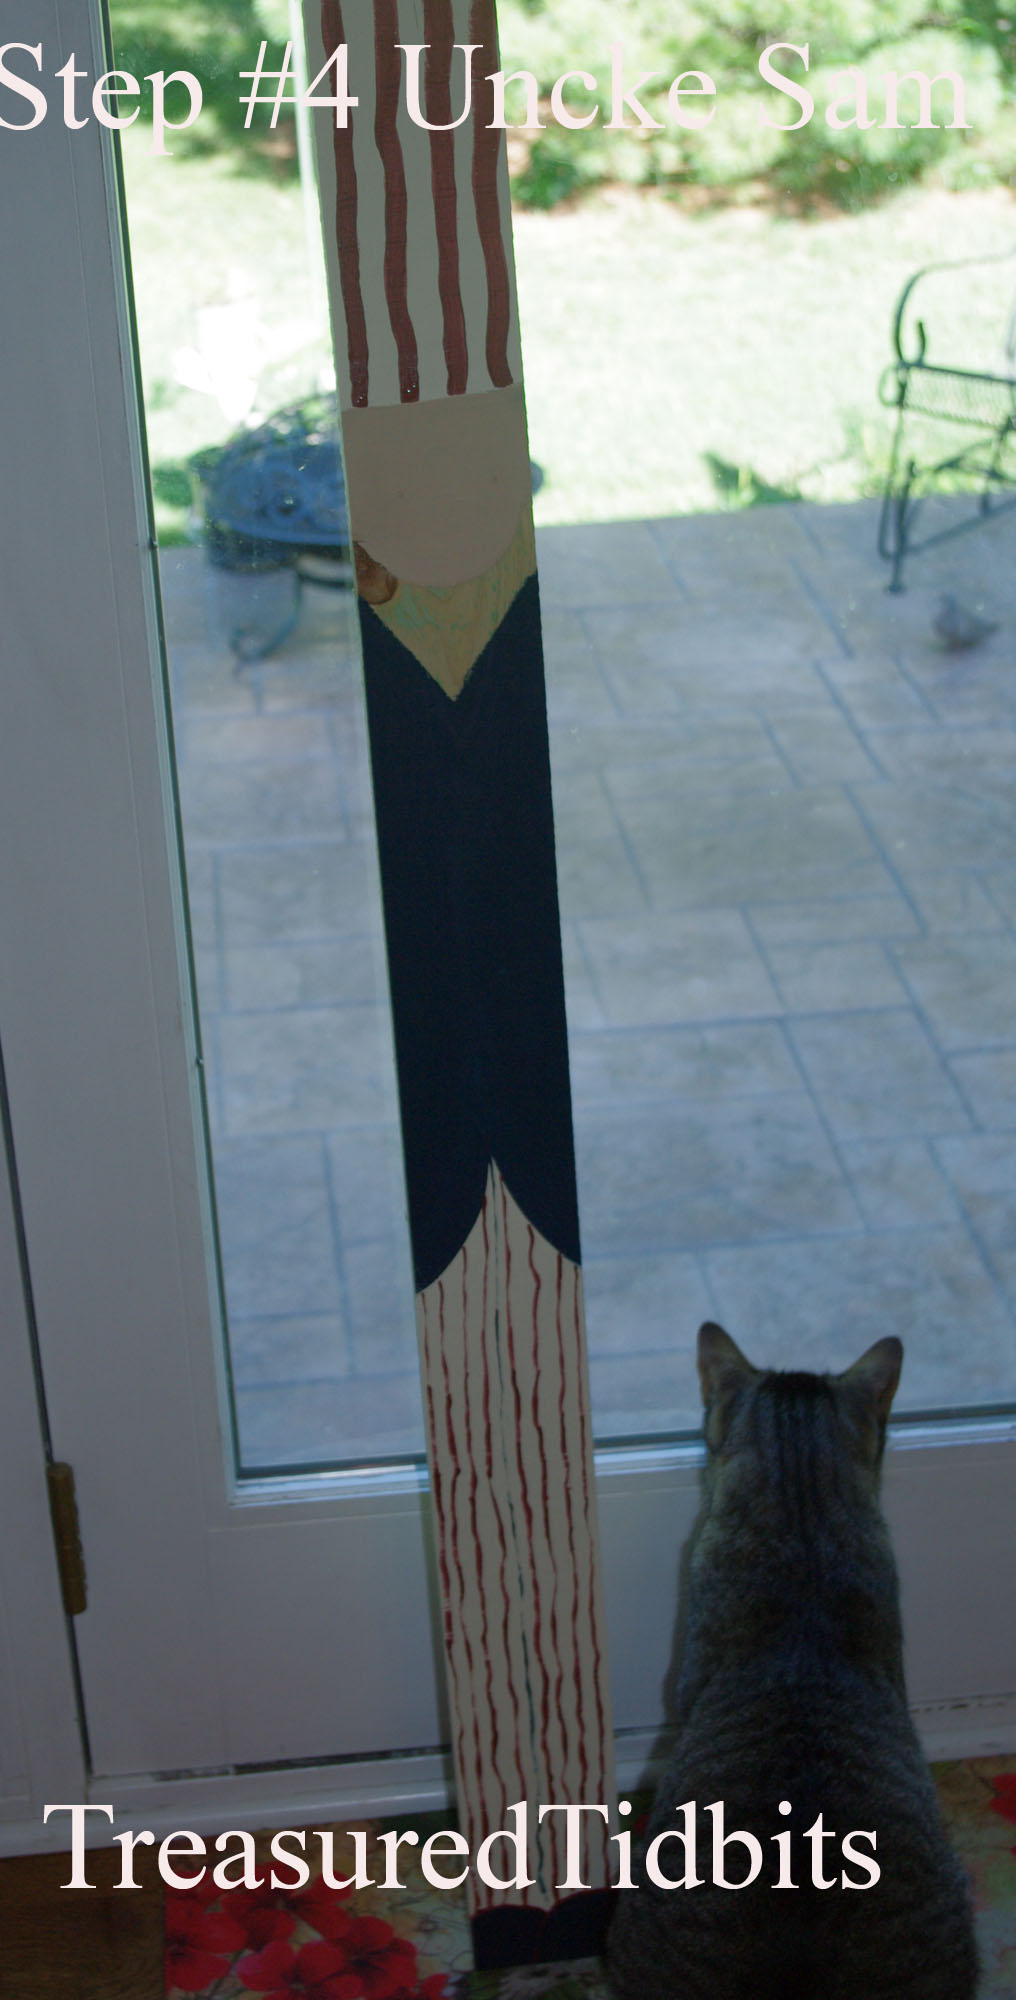
Once dry, add two blue base coats to the hat brim, shoes and coat

Let Dry
Add red stripes to the hat and pants. As you can see I did not concern myself with straight lines.
Note: If you are concerned with straight lines you can use the edge of a paper or ruler or draw and fill in the lines.
Let Dry
Add cheeks and eyes.
Let Dry
For pointers on this click here.

Base coat his beard- lightly brushing into the edge of the blue coat to create a feathered effect. Add a mustache and eyebrows in white.
Let Dry Completely.
Apply a second coat of white paint and while paint is still damp dip brush tips in silver/grey paint and stroke/blend into white paint to create a “hair” effect in the beard then repeat with the mustache.
Note: Paint the mustache strokes over the beard to once again give it the layered look.
Let Dry Completely
Paint nose in the rose color (I used a q-tip to give it a “rosy glow”.)
Let Dry Completely
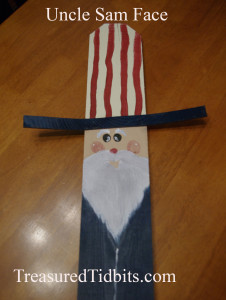
Attach the hat brim with tiny brad nails.
Move to a well ventilated area and seal with a minimum of two coats of outdoor sealant. (We prefer Krylon.)
Enjoy your Uncle Sam for years to come.
Please remember that each Uncle Sam should be unique in his own way.
I put this one together in just an hour or so (not including sealing) and I guarantee the next will not be identical as my projects always vary when I am free handing.
Want to see more great DIY and seasonal ideas? Follow us on Pinterest, Instagram, Facebook and sign up for weekly email updates.
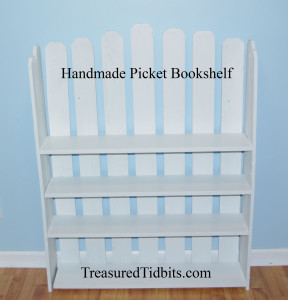
Update: We also created this adorable set of shelves from those free pickets. You can find the instructions for those here.

This post is linked up at a variety of link ups.
For an extensive list of the link ups we enjoy and link to click here.
Tags: Americana, Ceramcoat, Fourth of July, Handpainted, Krylon, Labor Day, Memorial Day, Partriotic, Picket, Red, Stars and Stripes, Uncle Sam, White and Blue
![]() American Decor | Tina Miller |
American Decor | Tina Miller | ![]() June 25, 2014 10:58 pm
June 25, 2014 10:58 pm
5 Comments
Other Links to this Post
-
Treasured Tidbits by Tina » Adorable Handmade Picket Shelf — January 25, 2015 @ 12:09 am
-
Treasured Tidbits by Tina Handpainted Stepping Stone How-to - Treasured Tidbits by Tina — July 6, 2016 @ 1:19 pm
-
Treasured Tidbits by Tina Dual Sided Decorating Blocks - Treasured Tidbits by Tina — July 22, 2016 @ 10:52 am
-
Treasured Tidbits by Tina Low Budget American Flag DIY - Treasured Tidbits by Tina — July 23, 2016 @ 1:11 pm
-
Treasured Tidbits by Tina A Look Back at Our 2014 DIY Posts - Treasured Tidbits by Tina — August 6, 2016 @ 10:51 pm
RSS feed for comments on this post. TrackBack URI