American Flag DIY
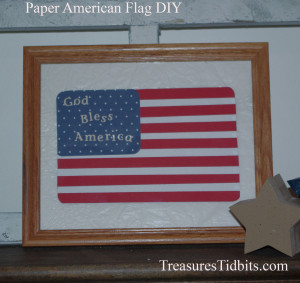
American Flag DIY
Perfect for small spaces.
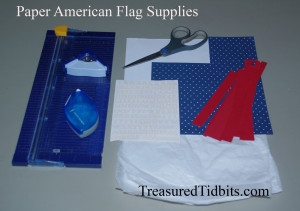
Supplies:
Frame We used a 8 1/2 X 11. (We reused the frame from this project- making storage much simpler.)
White tissue paper for background
Scraps of red, white, & blue & white card stock
ABC stickers
Adhesive, Ruler, Cutting Tool or scissors, Corner Rounder
Note: You can use any size frame, however, the instructions here are for a 8 1/2 x 11.
American Flag Instructions:
Fold tissue paper to fit snugly into the 8 1/2 x 11 Frame.
Cut the white card stock into a 13 cm x 20 cm rectangle (this is your flag base).
Cut 7, 1 cm red strips (13 cm wide).
Cut 7, 1/2 cm by 9 cm rectangles from blue and white paper. (We used paper with stars.)
Beginning at the top, align strips leaving a 1 cm white space between each, ending with red on the bottom.
(This will give you 13 stripes.)
Attach after aligning.
Add blue & white rectangle to upper left side of flag.
Add letters.
Center in frame.
Add tissue paper behind.
Secure and enjoy!
This project is perfect for those with small spaces. The design can be changed and filled with the seasons, while the frame is reused over and over.
If you enjoyed this low budget DIY post and would like to read more, follow us on Pinterest, Instagram, Facebook or sign up to receive weekly email updates.
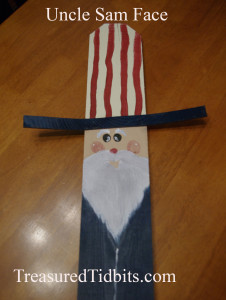
Need more patriotic decor? Discover how to make this adorable Uncle Sam.


