Simple St. Patrick’s Day Scrapbook Layout
Simple St. Patrick’s Day Scrapbook Layout
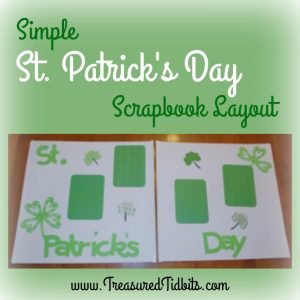
This page was created to let your photos take center stage.
I love beautifully patterned scrapbook pages but I think sometimes you just need to let the photos speak for themselves and that is exactly what this simple lay out will do.
Supplies Needed:
Green card stock
Contrasting/complimentary patterned green cardstock and paper
Heart punches or patterns (See our St. Patrick’s Day Shamrock posts at 4 Point Shamrock from Paper Punch Hearts AND Quick Shamrocks from Small Scrap Paper.)
Photo safe adhesive
2 12×12 pages
Your photos
2 inch Pre-cut letters or stickers (We used the fantastic Cricut machine my husband gave me for Christmas.)
Photo safe pen for Journaling
Scissors or paper trimmers
INSTRUCTIONS
1.) Crop your photos and mats to compliment each other. Our mats measure 4 1/2″ by 3 1/4″. You will need to crop your mats to fit your photo size. You may even wish to create a journal box.
2.) Create the Shamrocks following the instructions found here 4 Point Shamrock from Paper Punch Hearts AND Quick Shamrocks from Small Scrap Paper.
3.) If you need to cut out the letters now is the time.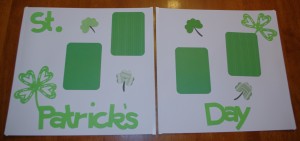
4.) Mount your photos to the mats and then rearrange the layout on your page until you are satisfied with the final look. Mount with photo safe adhesive.
5.) Add stickers and any journaling, or commentary as you see fit.
How simple was that? Now you have a beautiful St. Patrick’s Day Scrapbook to compliment the memories you made.
For more great DIY ideas check out our Pinterest boards found here.
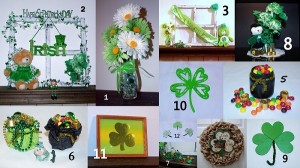
For additional, affordable St. Patrick’s Day decor ideas click here.
_______________________________________________
Check out other great ideas at the following link-ups (just click the square).
1 Comment
Other Links to this Post
-
Treasured Tidbits by Tina Simple Spring/St. Patrick's Day Flower Arrangement How-To - Treasured Tidbits by Tina — July 20, 2016 @ 4:47 pm
RSS feed for comments on this post. TrackBack URI
