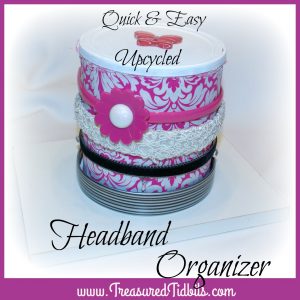
Headband Organizer Made From Hot Chocolate Container
Simple DIY Headband Organizer Made From Hot Chocolate Container
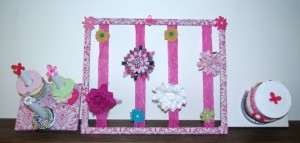
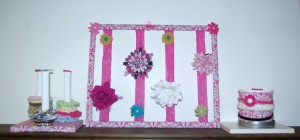
This headband organizer has been one of the best DIY recycled creations in our home. Not only does it help our headbands retain their shape but it stores all the miscellaneous items we like to use. In addition, it can be created to complement any décor and can be accomplished in a short period of time with items found around the house.
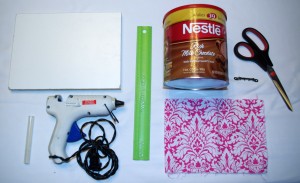
Supplies:
Empty, clean, dry container– Here we used a hot chocolate container but a Quaker Oat or coffee container will do. The main thing is that the container you use should have no rough edges and will keep your headbands in place without stretching them.
Note: Test your headband width against the size of the container BEFORE you begin cutting material and creating your headband organizer
1 inch board (We used a piece of leftover white shelving that measures 7″ by 10″. We chose not create a square because the sides already had a smooth finish at these measurements.)
Material to cover the container. (You will want to cut this slightly longer than the container itself.)
Scissors
Hot Glue and Hot Glue Gun
Paint and Brush (If you are going to paint the lid and board)
2 Screws (These are for securing the container and should be no deeper than the board itself.)
4 Screws (For mounting the board to the wall-These should be deeper than the board and strong enough to grip the wall)
Drill or Screwdriver for mounting to the wall (We simply set ours on a shelf.)
Headband Organizer How-T0
1.) Begin by applying a coat of paint to the board and lid if they do not already match the décor. (Note: It will take more than one coat to cover the lid and you will need to allow the paint to dry completely before applying the second coat.) Allow each coat to dry as you work on the remaining steps.
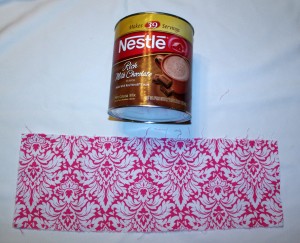
2.) Measure the height of the container and cut the material just slightly longer than needed. (Remember it is easier to take away extra than to tack on more). Loosely wrap the material around the container and cut 2 inches longer than needed to wrap.
3.) Glue the material to the container, small sections at a time, pulling tight and making certain to secure edges and keep centered, especially important the material is patterned.
4.) Once completed, trim and secure edges.
5.) Apply a second coat of paint to the lid and board if this hasn’t been completed yet. Allow to dry.
6.) Using shorter screws, mount container to board from inside the container. We suggest using two screws so that the container does not loosen over time.
7.) Mount to wall or set on dresser top and you are on your way to having a more organized, decorative home.
Find other great zero/low budget hair organization ideas here.
Please feel free to share your completed projects or ideas with us by commenting below.
For more great zero/low budget decorating and organizing ideas follow us on Pinterest, Facebook, Instagram or sign up for weekly email updates.
5 Comments
Other Links to this Post
-
Treasured Tidbits by Tina 5 DIY Hair Supply Organization Ideas - Treasured Tidbits by Tina — June 18, 2016 @ 8:53 pm
-
Treasured Tidbits by Tina 30 Practical Ways We Reduce, Reuse, Recycle Daily - Treasured Tidbits by Tina — June 19, 2016 @ 12:54 pm
-
Treasured Tidbits by Tina Simple DIY Hair/Earring Organizer - Treasured Tidbits by Tina — July 21, 2016 @ 9:56 am
-
Treasured Tidbits by Tina Simple, DIY Hair Tie & Bracelet Organizer - Treasured Tidbits by Tina — July 21, 2016 @ 11:02 am
-
Treasured Tidbits by Tina 15 Simple Ways to Organize Your Hair Accessories - Treasured Tidbits by Tina — October 13, 2016 @ 12:41 am
RSS feed for comments on this post. TrackBack URI
