Fun JOY Block Tutorial
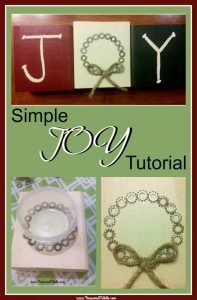
Simple JOY Block Tutorial
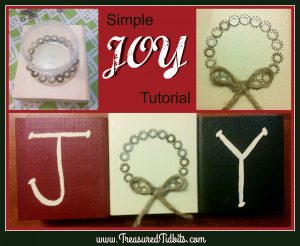
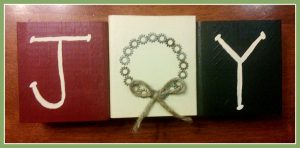
These blocks are a cinch to make and look fantastic on any mantel, desk or TV stand.
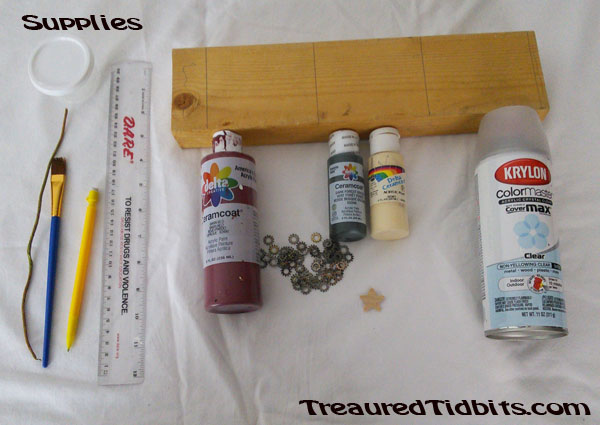
Supplies:
Pencil (for marking cut lines)
Saw & sander
Paint Brushes
Acrylic Paints (We used Ceramcoat in Barn Red, Forest Green, & Ivory.)
Old Toothbrush
Adhesive We used clear E-6000.
Jute Twine (For Bow)
Non-Yellowing Sealant We used my favorite- Krylon Colormaster.
External Tooth Lock WashersConfession: I had NO clue what these wheel things were called. I just found them in my garage and began playing with them. Then I asked our family and friends if they knew what I should refer to them as, and thankfully my mechanically inclined cousin knew that answer.
Instructions:
If you are not using pre-cut blocks you will need to begin by measuring, cutting and sanding your 1 x 4. We created ours to be 4 inch squares since the board is naturally 3 ¾ wide. Note: Our center block is just slightly larger than the rest, and I kinda like it that way.
You may choose to stain your blocks. I did, not due to the fact it was 20 degrees outside and stain doesn’t do so well in cold weather. I am extremely impatient.
Apply base coat to blocks.
Allow to dry.
Paint letters on outside blocks.
If you like the flecked look. You will want to fleck all three blocks now.
TIP: The “flecked” look is created by dipping the damp end of an old toothbrush in paint and scraping the tip of your finger on the end while “flecks” land on the blocks. First in white, then when dry, in black. I suggest you practice on a piece of paper first.
Let dry COMPLETELY!
While these are drying, in between layers is the perfect time to begin on the “wreath” square.
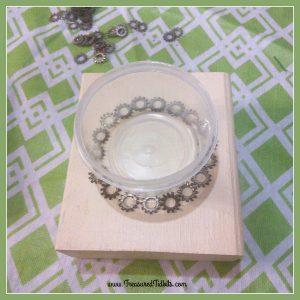
Find a circle shape in the size you need to create your wreath and take a practice run at creating it. I used a mini storage cup from $ Tree.
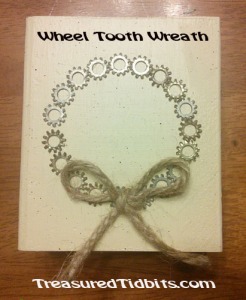
Once satisfied with the arrangement, begin gluing the external washer teeth in place. I applied ours using the E-6000, a toothpick and lots and lots of patience.
Top it off with a jute twine bow, and you have a beautiful new holiday accent.
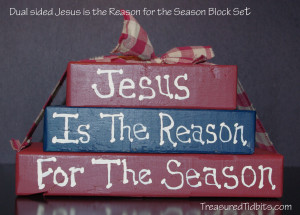
Tip: For those in a small home or with limited storage, the JOY blocks can be created to be dual sided. Like the dual sided matching stacked blocks we shared here.
#joyblocks #ilovechristmas #upcycledwheeltoothwashers
For more great ideas follow us on Pinterest, Facebook, Instagram and sign up for weekly emails that contain bonus ideas, links and even FREE printables.
This post contains affiliate links, for more on what this means click here.
2 Comments
Other Links to this Post
-
Treasured Tidbits by Tina Dual Sided Decorating Blocks - Treasured Tidbits by Tina — July 25, 2016 @ 2:30 pm
-
Treasured Tidbits by Tina A Look Back at Our 2014 DIY Posts - Treasured Tidbits by Tina — August 25, 2016 @ 6:34 pm
RSS feed for comments on this post. TrackBack URI
