Simple Wooden Shamrock
Simple Wooden Shamrock
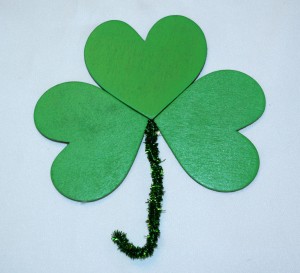
A week before I wanted to launch this blog I found myself in my craft room with no defined plan for St. Patrick’s Day projects so I began searching for items I could use. I came across these chubby little hearts just waiting to be green and here we are. A fun, versatile, easy to make Wooden Shamrock was born.
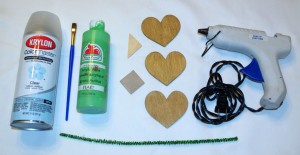
Supplies:
- 3 or 4 wooden hearts- any size We used 3″ hearts that I had stained previously but unstained would work just as well.
- Green paint
- Paintbrush
- Green pipe cleaner
- Hot glue gun
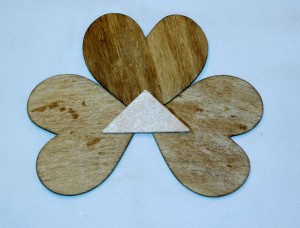
- Small thin wood shape I have a bundle of scrap pieces in my closet so I grabbed a square and a triangle but used only the triangle.
- Sealant: This step is NOT required but I prefer my items to have a finished look. I prefer Krylon non-yellowing clear sealant. It reduces scratches and dings and gives it a nice, shiny look.
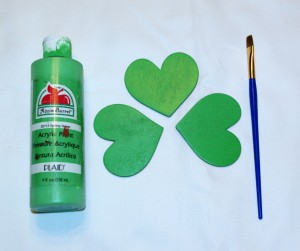
1.) Paint each heart and the spare wood piece. If your hearts are not stained you will need to paint both sides and along the edges. Please allow time for each coat to dry. This is the longest step.
NOTE: Lighter colors may take additional coats. If your paint seems to be thin. Shake the bottle again soundly BEFORE applying the next coat. We used 3 coats of Apple Barrel Spring Green for the example.
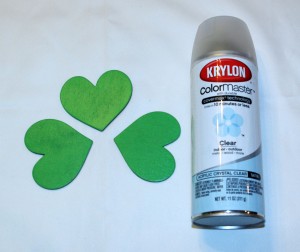
2.) IF you are going to apply sealant I recommend you do so BEFORE assembly. We used Krylon Colormaster Acrylic Crystal Clear. Since we will be using them inside I only treated them with one coat and only on the front.
NOTE: Always apply sealer outdoors in a well ventilated area! As this project was created in the Frigid February of 2014- I sprayed mine on the front porch and after letting it sit for a moment brought it in to our heated garage since sealant needs warmer temps to set properly.
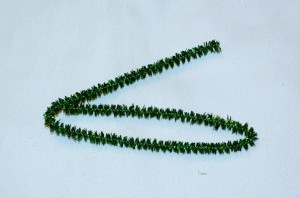
3.) While the paint/sealant is drying you can start creating the stem. Begin by folding the pipe cleaner into thirds. SEE PHOTO then twist the 3 together until they form a stronger, thicker stem.
4.) Depending on the type of sealant- you may be able to begin assembly within an hour of spraying.
ASSEMBLY:
Place the wood anchor flat on the work area and move the hearts around on top of it until you find the design you prefer. Slide each heart off of the anchor and apply glue directly to the anchor– IMMEDIATELY place the tips of the hearts onto the anchor in a tightly fitting pattern, leaving room at the base for the stem.
5.) Attach stem with glue at the remaining base of the wood anchor. Shape stem to create a hooked Shamrock shape.
You now have an inexpensive wooden shamrock perfect for an addition to any mantel, wreath, swag or to wear as a pin and not get pinched.
Tip: For a country/primitive wooden shamrock you could use a crackle with black and dark green paint for the leaves and then a grapevine for the stem .
For more great craft ideas follow us on Pinterest, Facebook, or Instagram.
Note: This post contains affiliate links at no cost to you. To discover more about what that means read our disclosure policy found here and find out how you can support & encourage your favorite bloggers for FREE here.
1 Comment
Other Links to this Post
-
Treasured Tidbits by Tina 12 Fun & Easy St. Patrick's Day Ideas - Treasured Tidbits by Tina — July 21, 2016 @ 7:13 am
RSS feed for comments on this post. TrackBack URI

