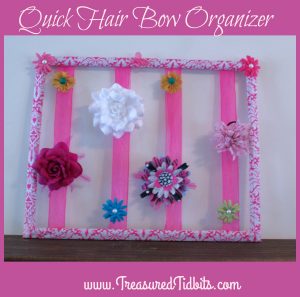
Simple, Fun DIY Hair Bow Holder
Simple, Fun DIY Hair Bow Holder
You can make this fun hair bow holder with your kids in 30 minutes or less
(Ours took less than 20)
Supplies
- Picture frame (all hardware should be removed-including hanger)
- Material
- Ribbon or strips of material
- Glue gun (or strong stapler)
- Glue sticks (or staples) (Craft glue may work but I prefer hot glue)
- Ruler
- Scissors
- Accent/Bling Items
Instructions:
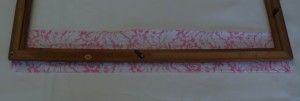
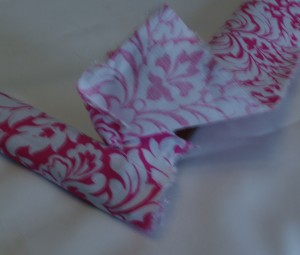
- Begin by cutting the your fabric into pieces slightly longer than the sides and ends of your frame. (SEE PHOTO)
For example: Our frame measures 22” x 17” (Outside corner to outside corner). I cut 2 strips of fabric 19” long and 2 ½ inches wide and 2 more 24” long and 2 ½ wide.
Note: We used a thin frame if using a wider frame your material will need to be wider approx. 2.5 times the wide of your frame piece.
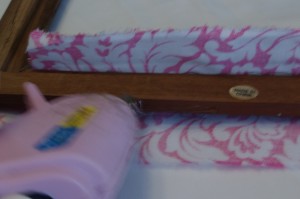
2.) Starting on a shorter side-lay a piece of material under the face-down frame (See above photo) Center the frame over the material. Run a strip of glue along the interior back. (See photo 1 below) Apply material (there will be excess protruding-leave this for now). Snip corners at an angle to fold smoothly.
3. ) Apply a bead of glue to the outside edge of the frame (See photo below) Press material along –Pulling snugly (so that the front is smooth)
NOTE: You may need to glue and press small sections at a time so that your glue does not dry before you are able to smooth and press
4.) Glue bottom edge down completely and then top edge over the bottom to create a smooth look
REPEAT (on other end of frame)
5.) Follow instructions from above for the long sides except DO NOT snip corners, instead overlap and fold like they were wrapping on a package (See photo)
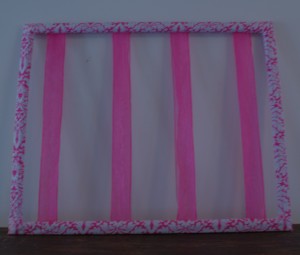
6.) Once the material portion is completed the strips/ribbon should be measured and cut. In this example we used sheer ribbon and doubled it to make it stronger.
Tip: Remember to cut it slightly longer than you anticipate needing.
7.) Mark the back of the frame on each half with the location of where the ribbons should land so that they are spaced evenly (take into account how wide your ribbon and hair bows are). Begin by applying glue to one side, attach ribbon.
8.) Pull ribbon tightly and apply glue to the lowest part of the other side-continue to keep ribbon pulled tight.
9.) Apply more glue to the flat of the same side-apply ribbon. If it is not tight remove one side and tighten again then reglue, trim ribbon.
Note: If ribbon is not tight enough the weight of the hair bows will make it sag.
10.) REPEAT for all ribbons-checking spacing as you go.
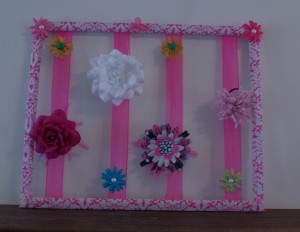
11.) Add saw tooth hanger on the back and bling/accessories on the front as desired.
Enjoy a more organized and decorative hair bow holder..
Click here for more great hair organization ideas.
Please share this post and other on the social media of your choices.
Or Follow us on Pinterest, Facebook, Instagram and sign up for weekly email updates.
And please feel free to share any additional ideas or posts in the comments below.
4 Comments
Other Links to this Post
-
Treasured Tidbits by Tina 5 DIY Hair Supply Organization Ideas - Treasured Tidbits by Tina — June 18, 2016 @ 8:45 pm
-
Treasured Tidbits by Tina Country & Western Hair/Earring Organizer - Treasured Tidbits by Tina — July 20, 2016 @ 3:39 pm
-
Treasured Tidbits by Tina Simple, DIY Hair Tie & Bracelet Organizer - Treasured Tidbits by Tina — July 21, 2016 @ 11:01 am
-
Treasured Tidbits by Tina 15 Simple Ways to Organize Your Hair Accessories - Treasured Tidbits by Tina — October 13, 2016 @ 12:45 am
RSS feed for comments on this post. TrackBack URI
